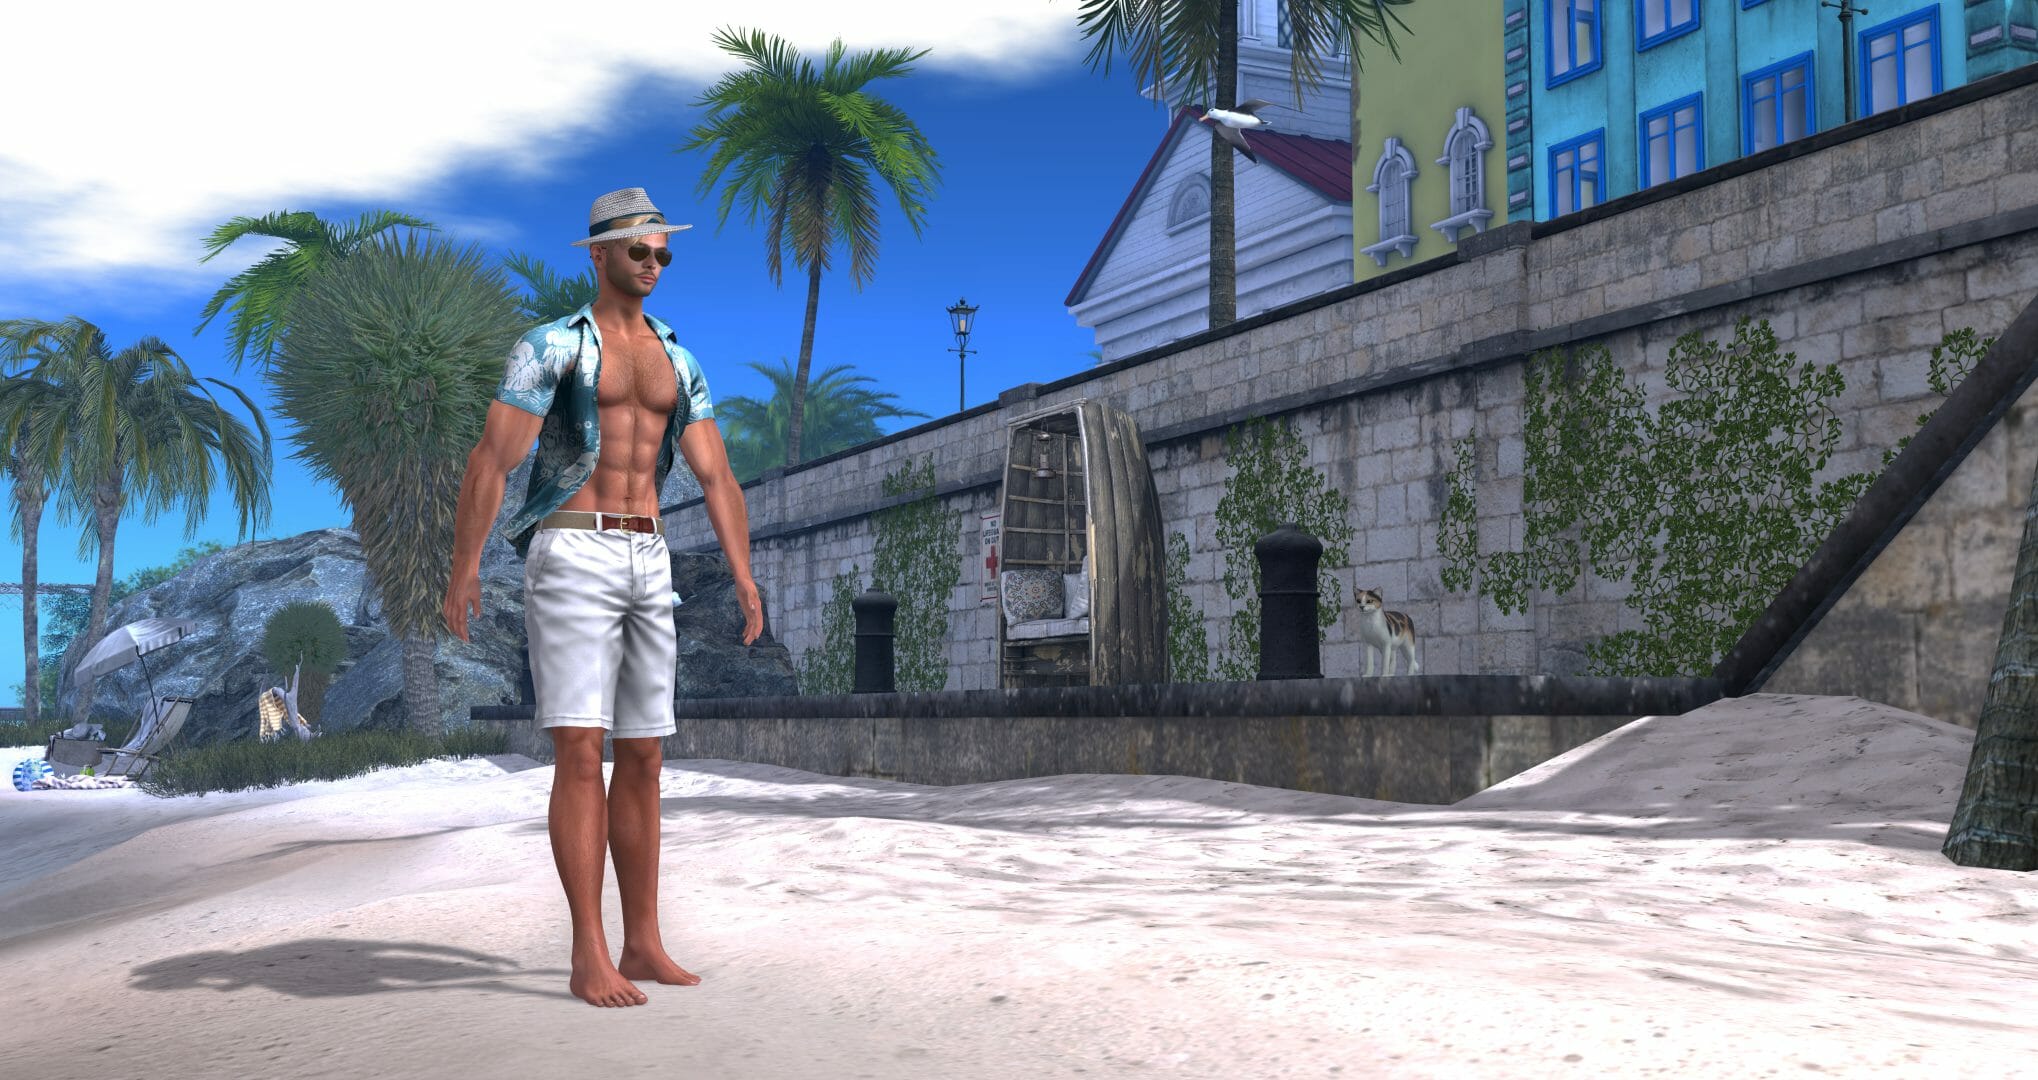
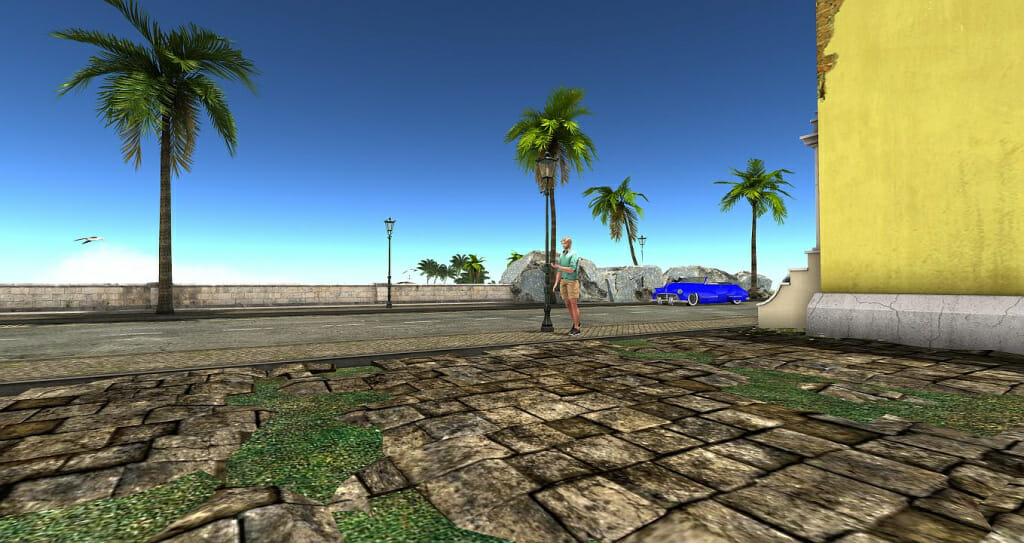
BTS – On The Beach


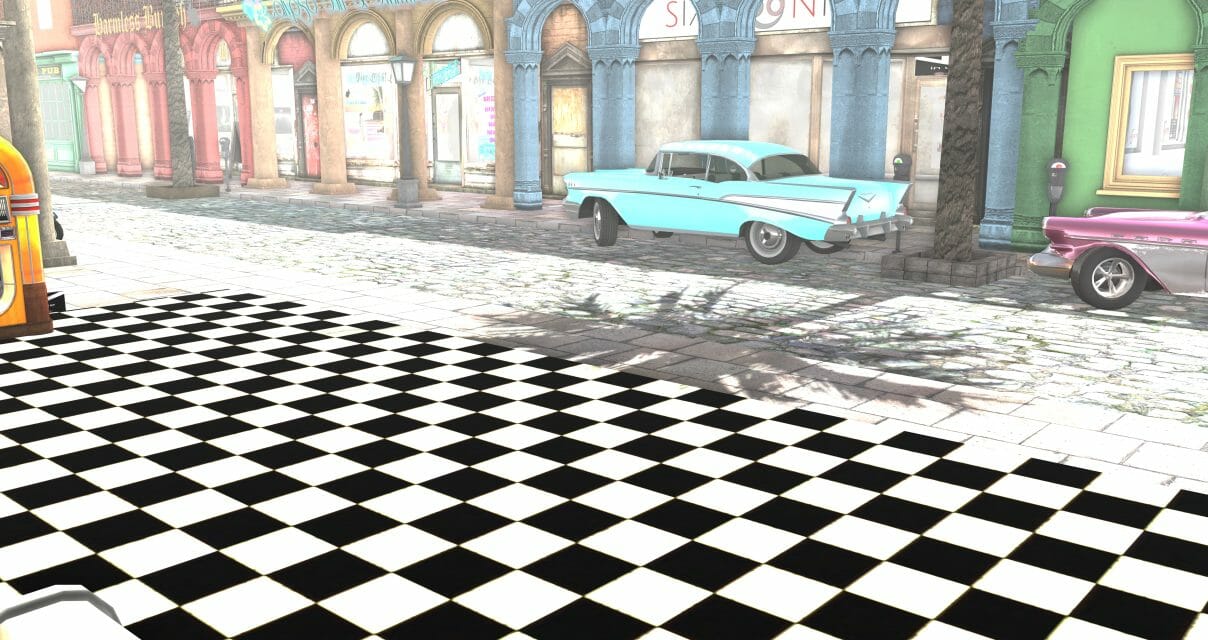
BTS – The Diner


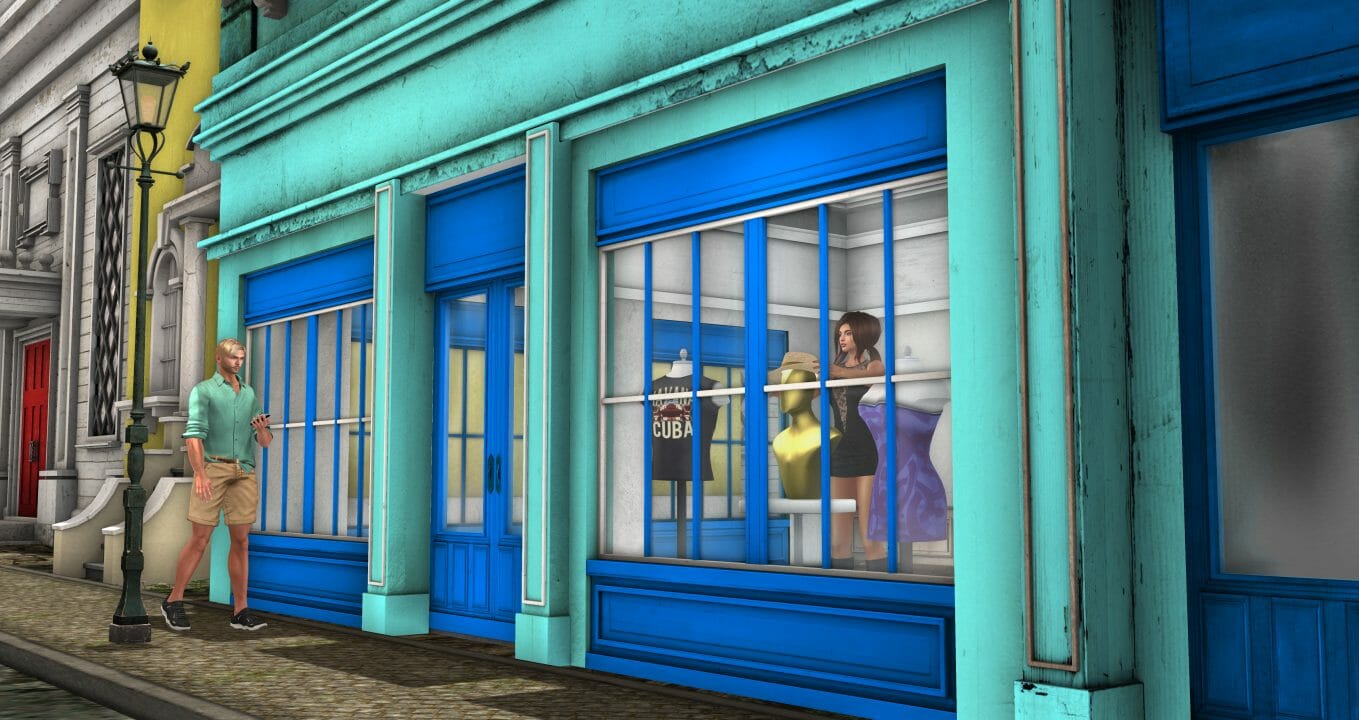
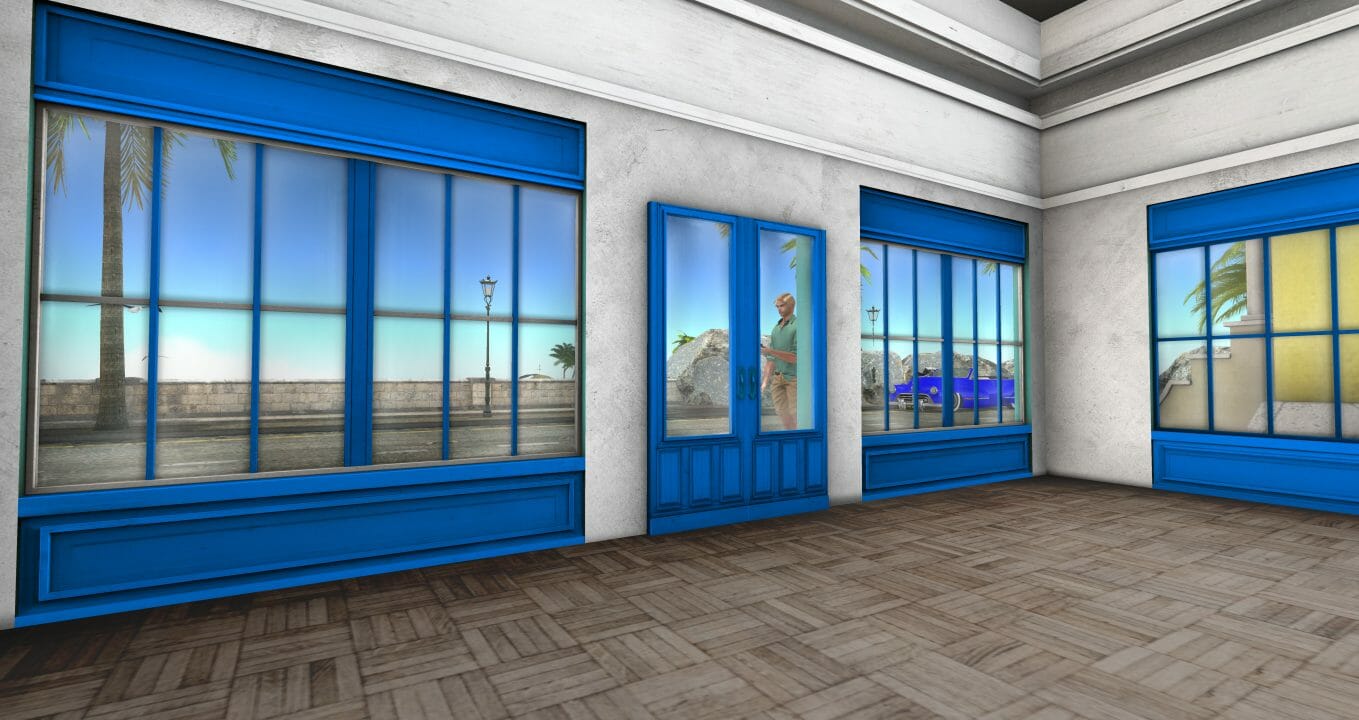
BTS – El Sombrero


BTS – Bienvenido
BTS – Awakened