First, I will say that this image has revealed a few issues and created a few frustrations. I will list them right off the top to get them over with.
- I am not happy with the pose I created. I created the pose with a specific image in mind but when trying to put that image together, I changed my mind but kept the pose. It wasn’t until late in the process when I really decided I didn’t like the pose but by then it was too late to go back.
- The current version of GIMP which I am using (2.10.10) has a ‘new’ option to enable using 32bit floating point precision when editing images. The default is 8 bit and I wouldn’t have considered changing it until watching a video pointing out that it was available and I should be using it….so I did. When I thought I was all done and went to use Irfanview to resize my image for uploading, the image was much darker than I had created. When I resized using GIMP, they looked fine but upon uploading to this site, the uploaded image was also several shades darker. An hour after back tracking and undoing I finally determined that setting GIMP back to 8 bit before exporting the image resulted in the expected uploads.
- Finally (so far!) After sorting the above out, when I uploaded the images for this post I noticed that all of the files I have uploaded since installing the EWWW image optimizer have been converted from the original .png to .jpg format even though I specifically disabled that function. A google search took me to EWWW’s site where 9 months ago, a user complained about this very thing. The response was (paraphrased) “You obviously don’t know what you’re doing so we took care of it for you. If you REALLY wanted to keep your .png images, justify it to us and we’ll think about it.” Yeah, I’m looking for a new image optimizer or at the very least, a way to leave the original uploaded files untouched. This server is a backup repository for my original images. Don’t touch!
- Finalcut! Way back I was given a copy of Finalcut Pro…a $399 value. I decided to use it when creating the videos for this effort. What I am doing is super simple yet nearly every video has been a pain because Finalcut Pro is not intuitive and even when you think you finally figured out how to do something simple…sometimes it just doesn’t work. It’s not just me. I’ve watched several videos of extremely frustrated users and learned from a coworker that uses it professionally that this is normal.The video created for this one was another frustration. I’m not trying to do anything fancy so rather than continue frustrating myself, I’ll most likely not use Finalcut in the future. My 29.95 Movie Maker 6 will do the same thing much, much easier..
There! I feel better now!
Now, onto the process.
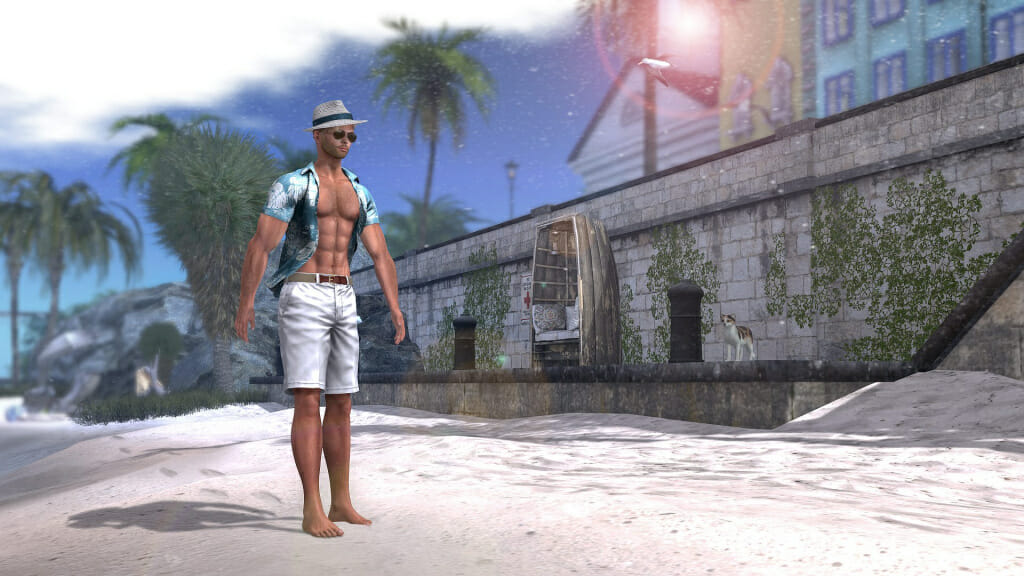
This effort began with two pictures only because of the conflict with Aedan’s hat and hair. I could have just drawn the hair in I suppose (and did later) but to start I wanted a ‘clean’ image with his hair in place and not pouring through the hat. So, after lots of tweaking to get the sun as I thought I wanted it and moving around to get a decent composition, I took the first image.
Hair was removed and the second image was grabbed. Close inspection will reveal that the bird and trees have moved between images so though they are otherwise identical, a choice had to be made about which to use.
Two layer maps were used in GIMP to introduce the gausian blur to items above the wall and gradually, behind the grass at the edge of the sand.
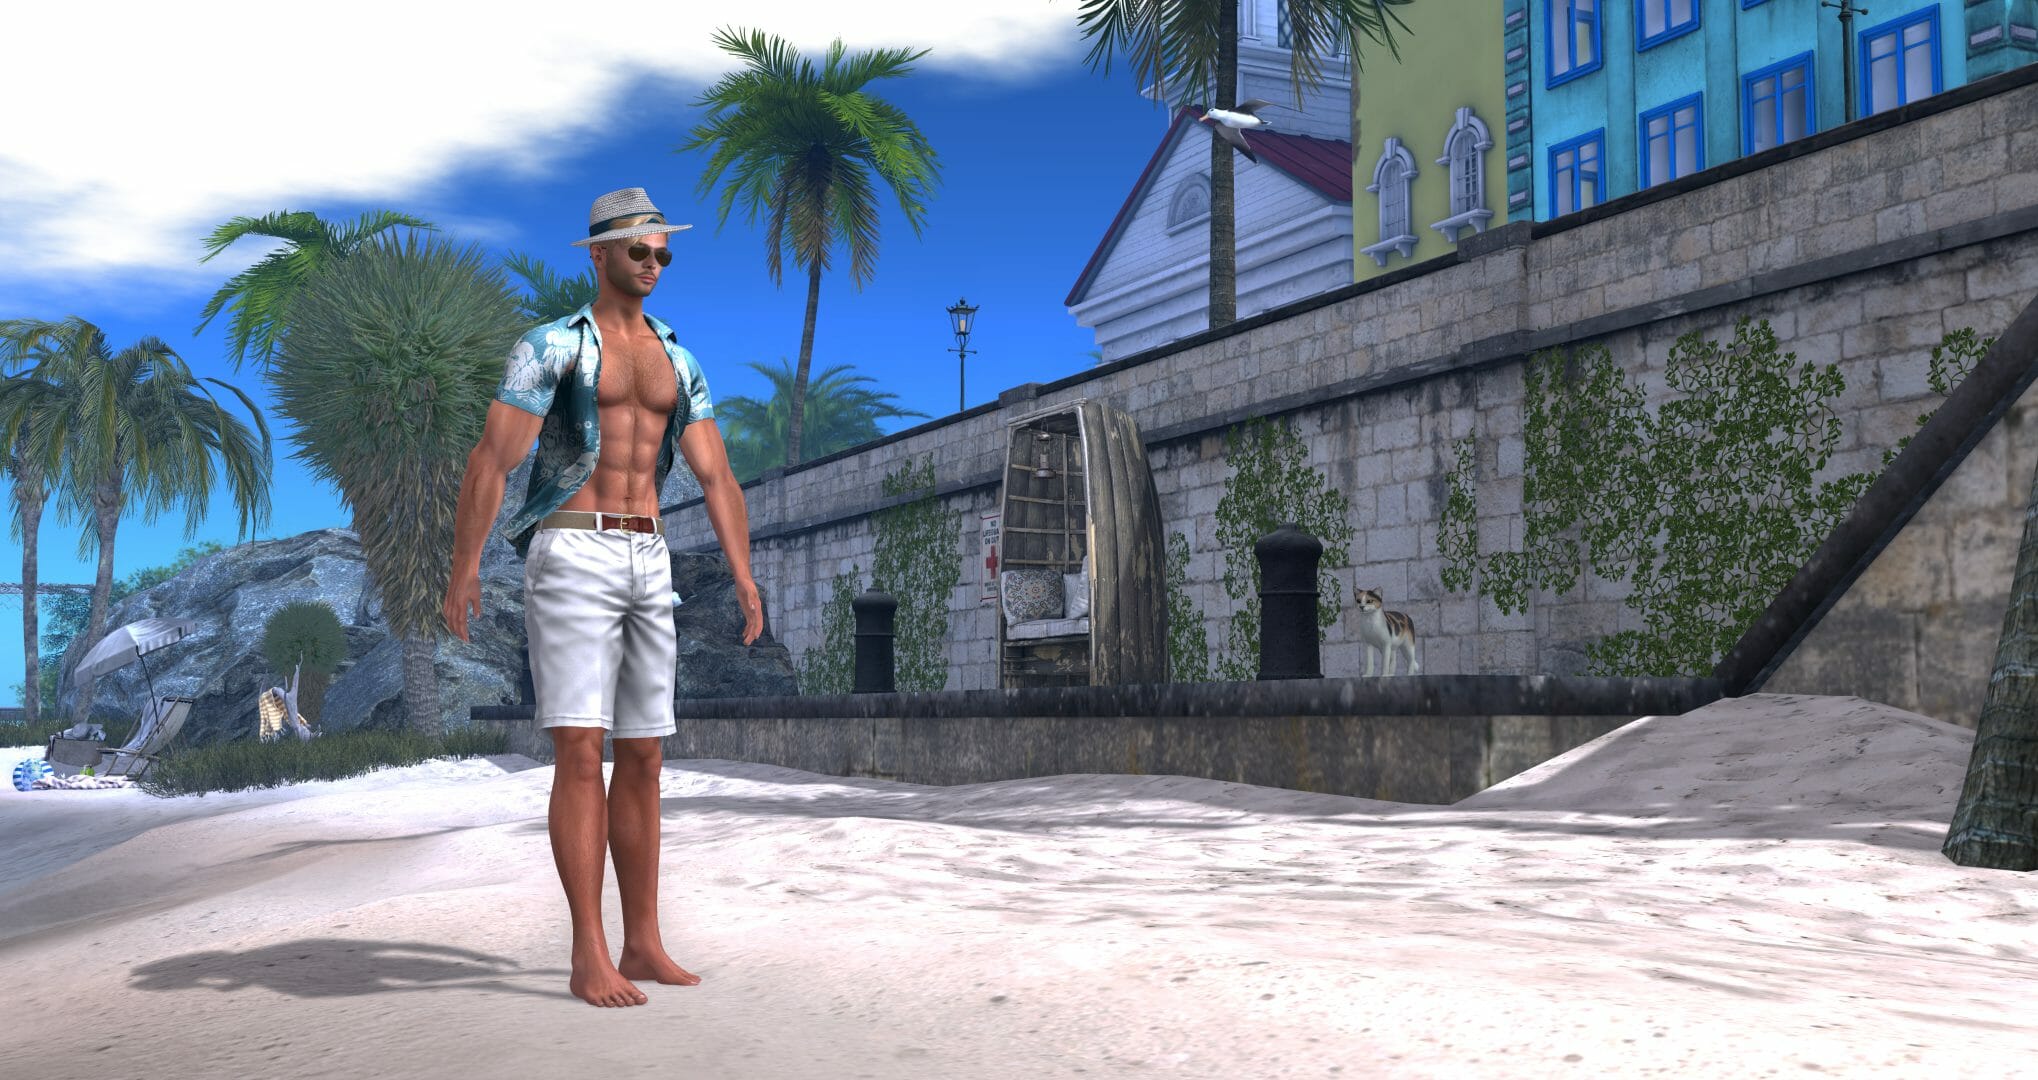

There were many hand-made edits to achieve the final image. The palm tree behind Aedan isn’t blurred as much as the other things that are further away so where they met had to be smoothed over. Foot prints were needed in the sand so that he didn’t appear to have just dropped in from the sky…and sand added around his left foot that is bearing weight.
Shadows were added where I felt windlight had failed….under the brim of the hat, on his cheeks behind the glasses, along the left side of his torso behind the shirt and on his legs below the shorts (which in hindsight may have been a bit much but I was eager to add shadows 😀 )
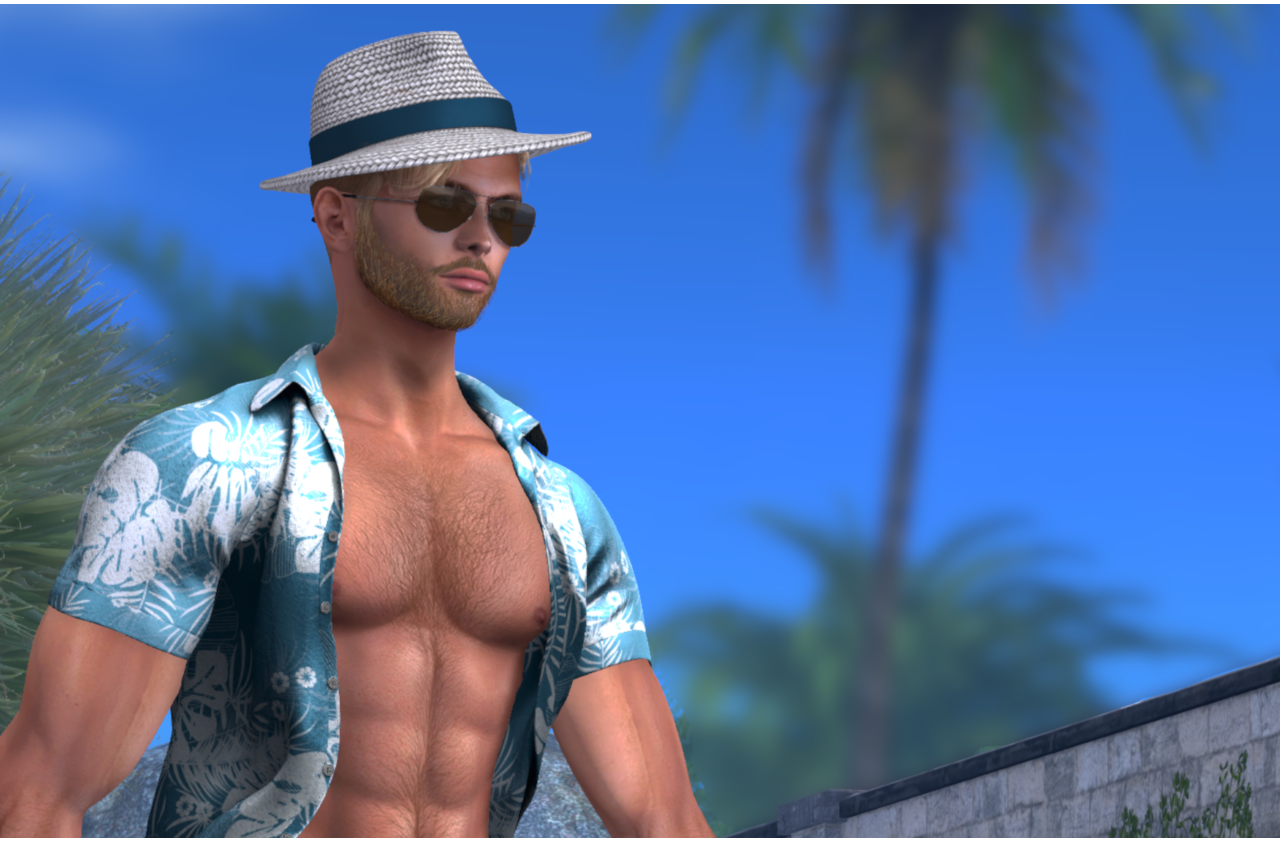
Finally, concerning Aedan, I manually added hair to his beard and head since I’ve not been able to find what I’m looking for in SL. At this distance it’s unnoticeable unless you’re looking specifically for it. Future images will be closer so hopefully I will have perfected the technique by then!
The final touch was to add a flare and some dirt on the lens but the photographer took the shot with the sun in the wrong place so….he moved until there was solar reflection in the top floor window of the building across the street 😉