
I am moving forward, if slowly, with continuing Aedan’s saga after his “spring break”. With a basic outline of how the story will go, I have been working on the character backgrounds to ensure all of the central characters are deep and don’t go off doing things willy-nilly.
I introduced Kyashi in the last post. This one is about Robert, or as most take the liberty to call him, Bob. After writing the character description, I know Bob very well. It should be no surprise that I spent a lot of time searching for a skin to fit the character in my mind and came up empty. In the end, I settled on “Orion” from Birth Skins.
The photo looks great. The skin is younger than I had hoped but most of my characters are not in their 20s so I knew finding skins in SL wouldn’t be easy. Unfortunately, part of what makes the Orion skin look so great in the ad are actually highlights painted onto the skin. I didn’t realize this before making the purchase. Without going on about how much time I spent trying to get around this and the frustration it brought, I’ll try to keep this short and simply show you what I ran into and how I’ll try to deal with it in upcoming photos.
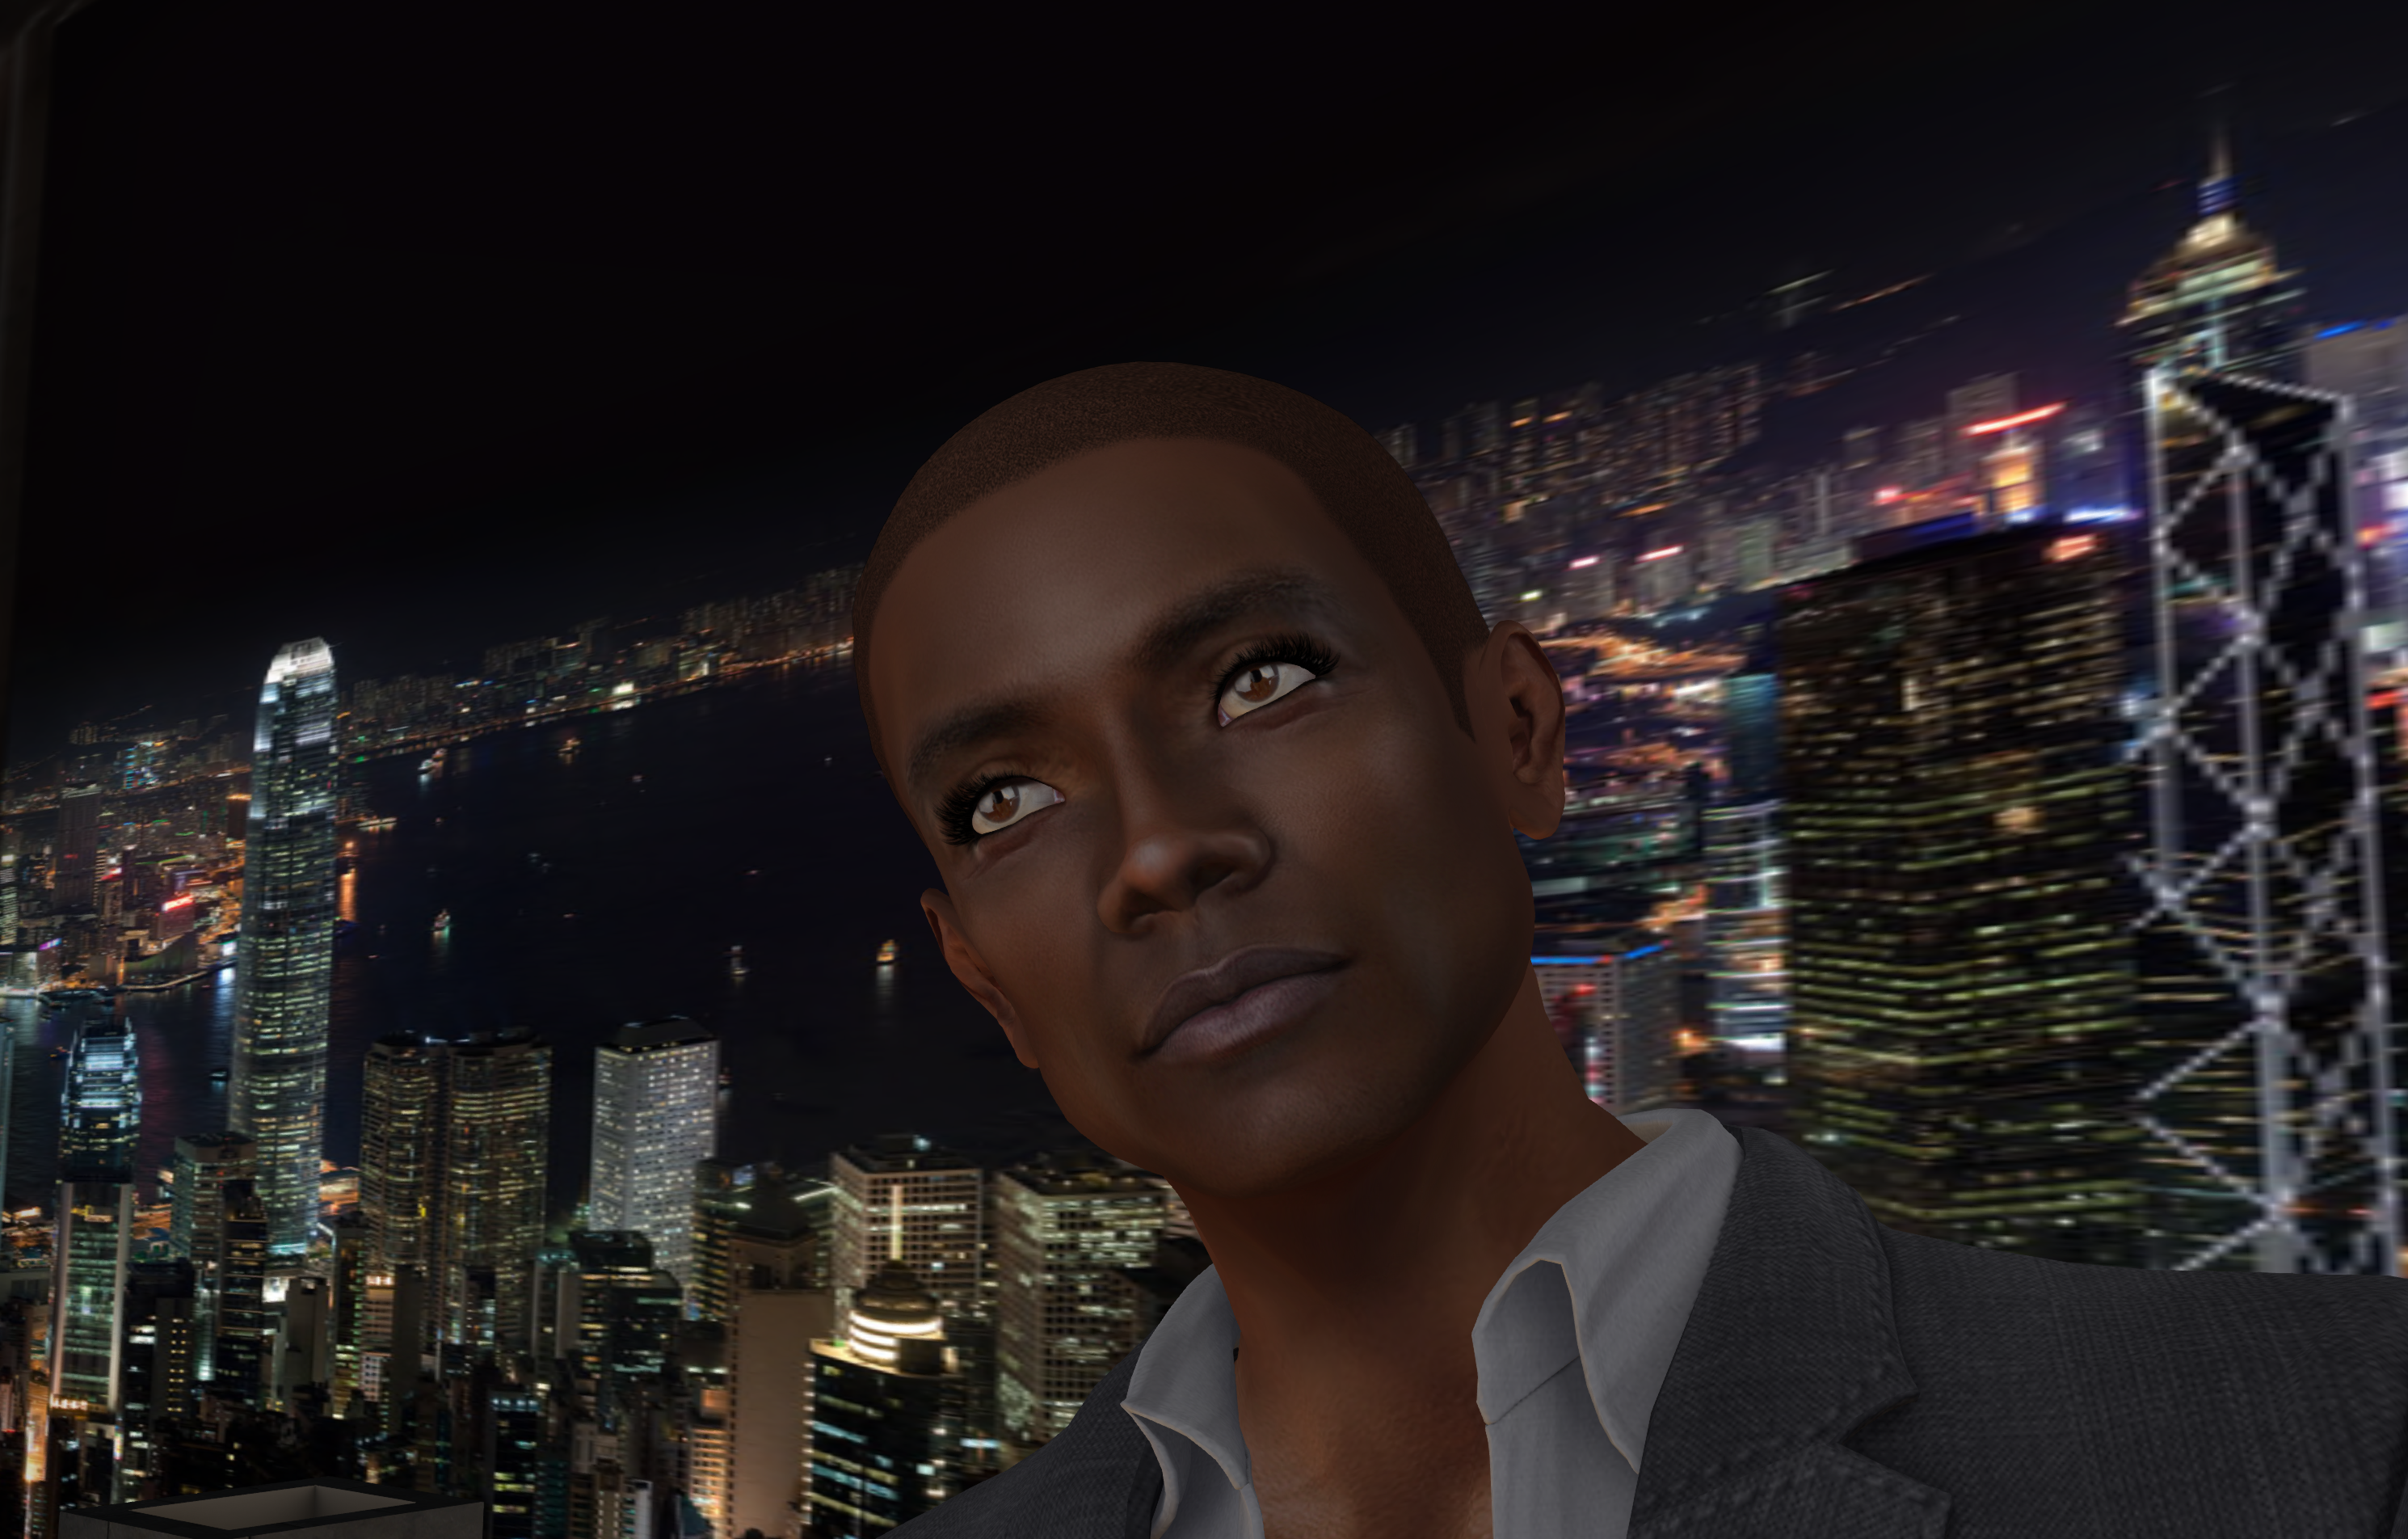
It shouldn’t be too difficult to note the lighter spots in the skin on the forehead, around the eyes, the cheek bone and jaw. They are more pronounced on the left side.
I initially tried to use the clone stamp to get rid of them. This didn’t work well in the eye brow. I tried sampling the colors outside of these areas and painting but my inexperience with Photoshop screamed loudly as I lost skin texture. I wrote to the creator hoping for a skin with no highlights but as of January 1, I’ve heard nothing back at all. My biggest concern is that even if I find an easy way to get rid of these spots, I will have to do it every single time I photograph him.
I solicited advice from a PS wizard who gave me two options to try. The first was to create a solid gray layer to burn and darken the tones while the second was to use frequency separation. This was something I had no experience at whatsoever so I was off to watch more tutorials. There are many but one of the first and best I watched was “PHP Method” of Frequency Separation in Photoshop
This worked quite well. It is still somewhat tedious – especially on the area in the eye brows but it’s doable and I’m sure it will get easier with practice. This is how the first image was created.
I then tried her other suggestion of creating a new layer of neutral gray, setting the mode to overlay and gently burning the lighter areas beneath it. This was easier but never got as good of a result on the jaw and eyebrow area. I came to the conclusion that this must have been because the highlights may have been made by adding a lighter color to the skin rather than lightening the tone. Burning made the spots darker but they never would blend in.
Should I find an easier way to do this, I’ll try to update this entry.