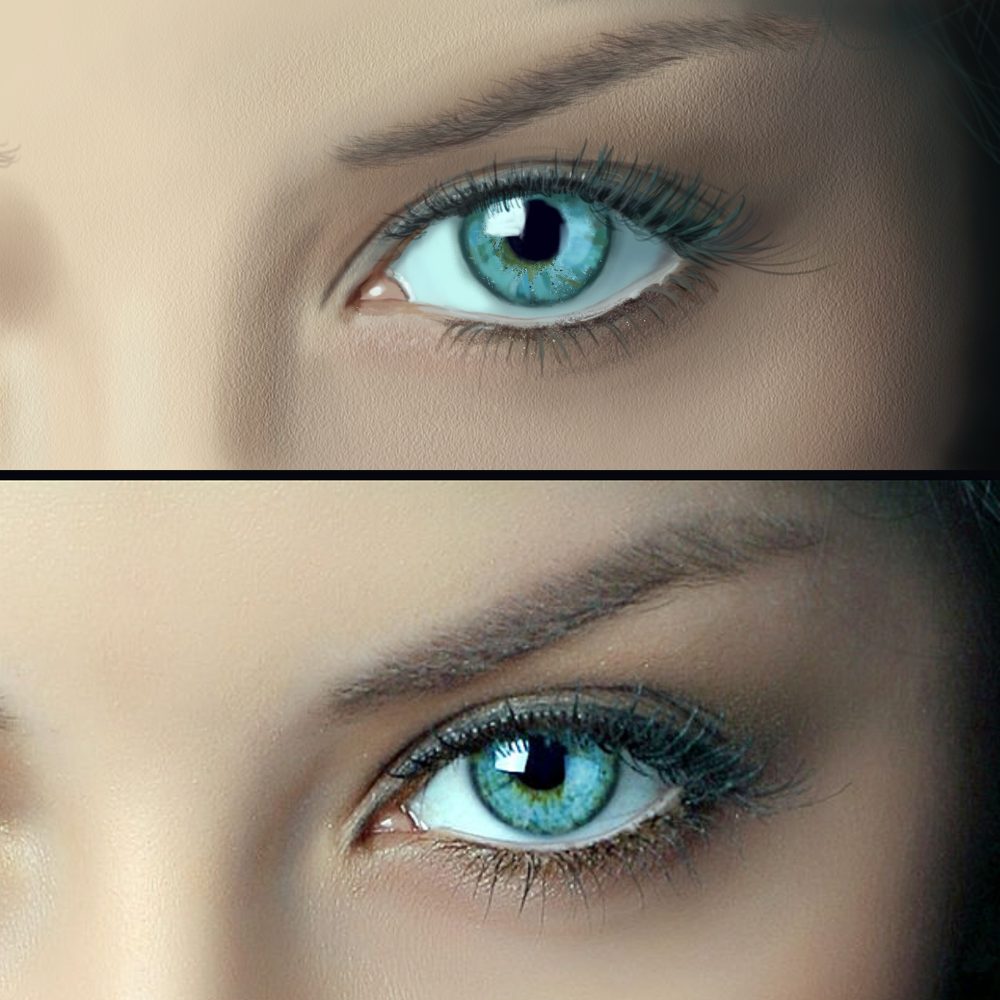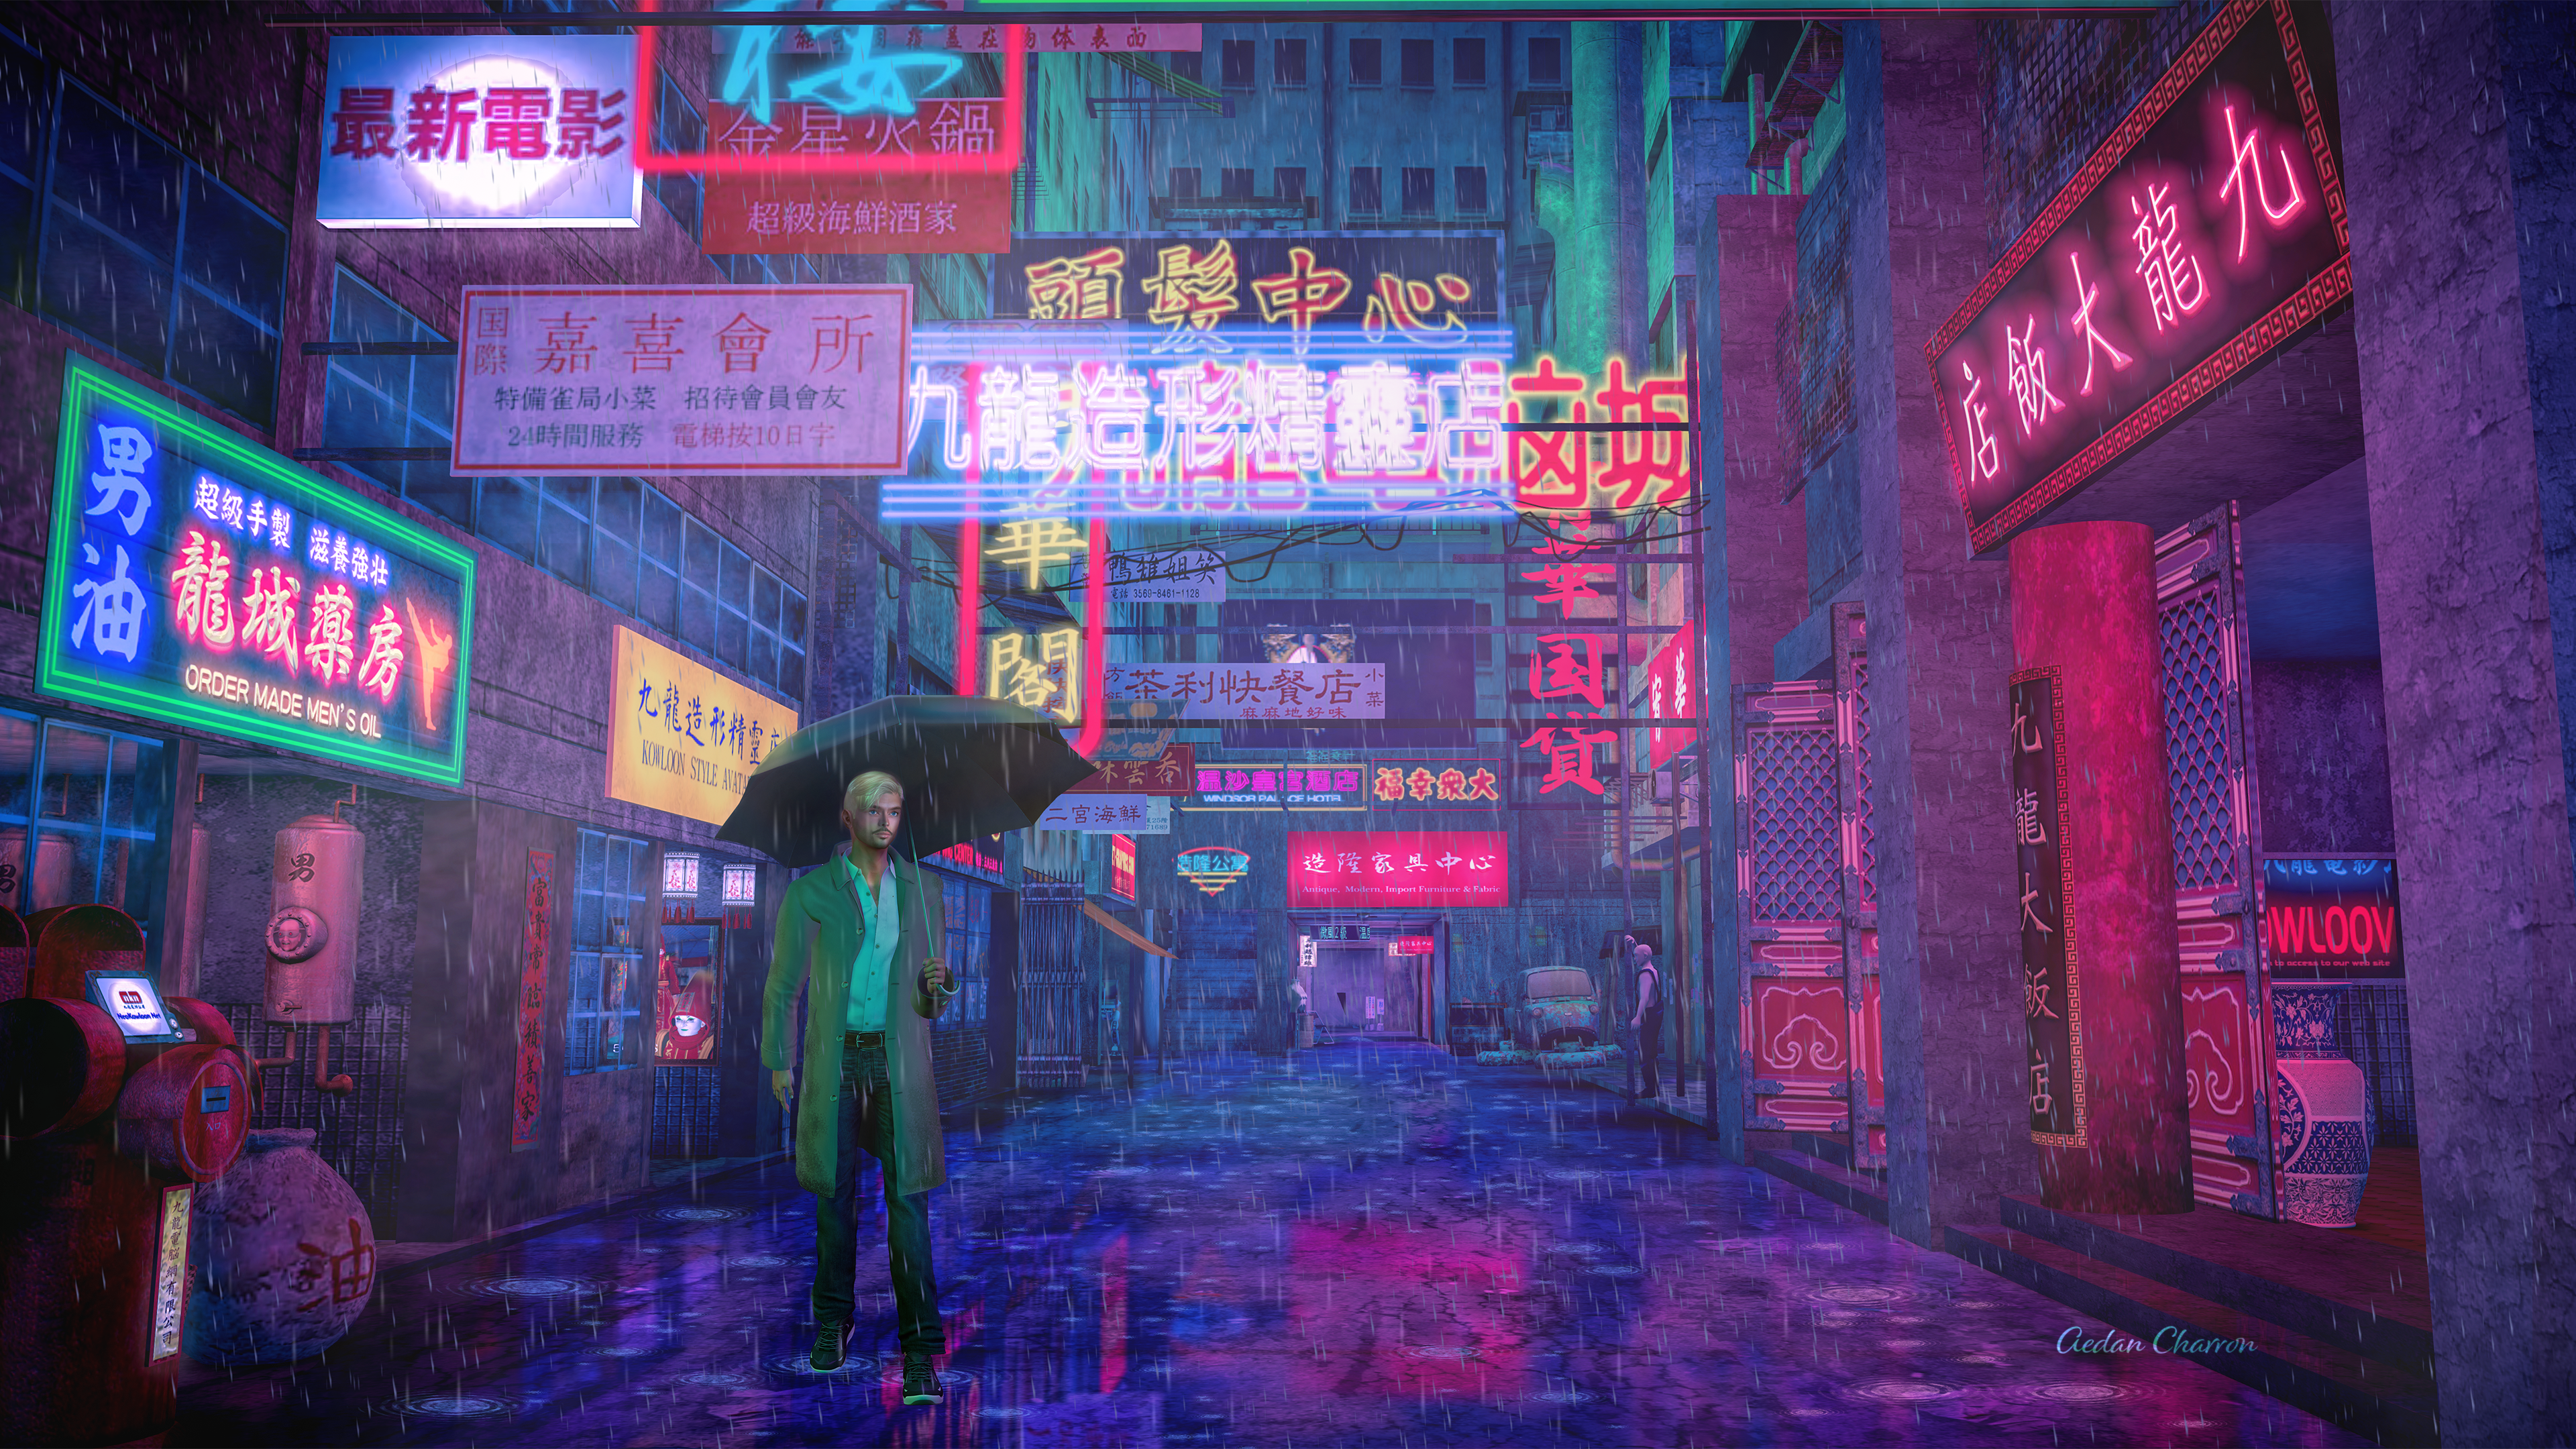
This was probably the most enjoyable image I’ve created so far. I wanted to add some color to my work. Watching Natsumi painting with light in her work left me in awe so I found some additional tutorials on youtube and decided to give it a shot myself. This called for not only bright, colorful lights but a wet surfaces to reflect it and a mist to spread it out. This wasn’t something I was likely to find in SL and besides, had I found it, the fun would have been missed.
Several hours of wandering around SL revealed the street I thought would meet my list of demands. It is a gated city and from what I read at the gate, non-english speaking. There were people scattered about but none in the street so I stood outside the gate and cammed my way around looking for other possibilities before moving back to the street that first got my attention.
At the time of the photo, the only windlight adjustments made that I recall was to make it night time though I also grabbed an image using CalWL to use as a reference and filler if needed. It wasn’t.
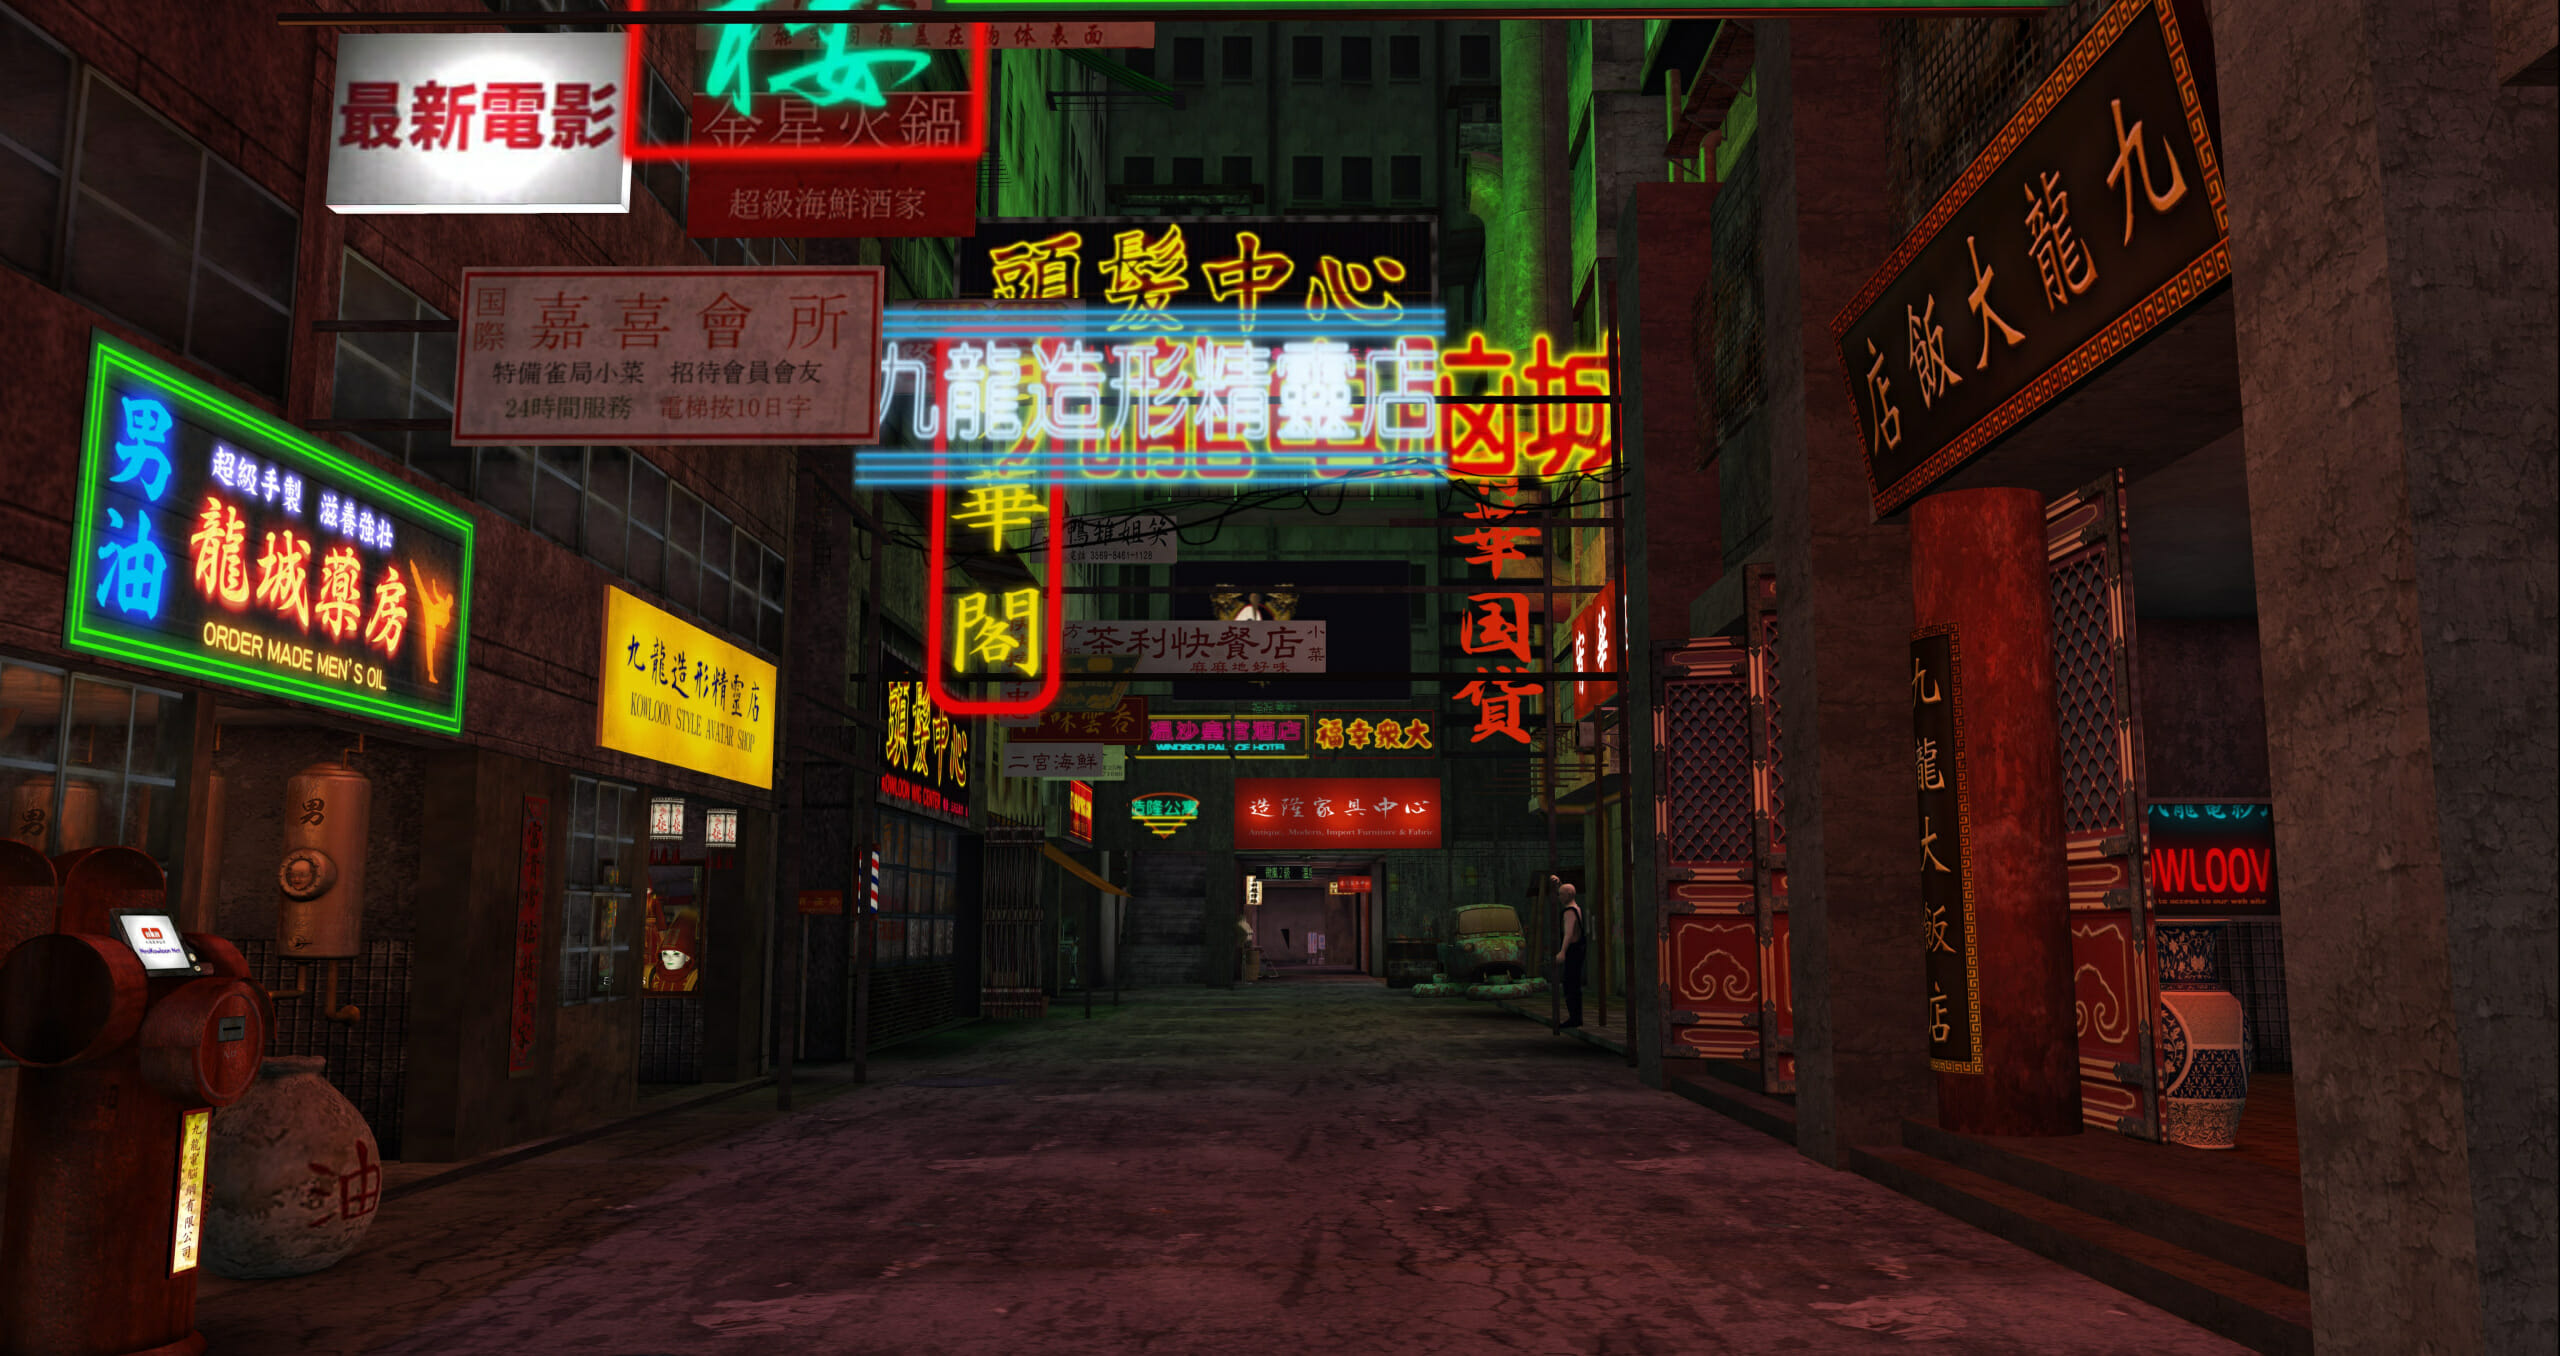
Back in the lab with the images, I followed closely the instructions in one of the tutorials I found (How to Give Your Photos the Cyberpunk Look in Photoshop) and adjusted the colors using the Camera Raw filter in Photoshop. Following suggestions from the same tutorial, I illuminated one of the signs (right, top corner) to balance the scene. All lights then received a bit of fuzziness to bring them to life in the planned rain. Additionally, ambient light from different colored signs was added to the atmosphere.
For the street reflection, a mirror image was made and transposed in an attempt to make the angle of reflection more realistic though I was never quite satisfied with how that ended up.
Next, Aedan was added with reflections added to the umbrella along with shading to mimic the ambient light. The rain coat also received a few wet spots.
Finally rain and mist were added before making final levels adjustments to brighten the scene a bit. When all was said and done, I used this image in combination with a beautiful tune entitled “Follow the Light” by Wayr.
This was definitely fun and I hope to do more like this in the future.
(update 1 Janu 2020 – Happy New Year!) The video tutorial I linked to above is a great tutorial and expect I will refer to it again but today I came across one that created many of the same effects in a manner that seemed much easier to me. ( How to Create Lighting Effects in Photoshop ) It may just be that I’m feeling more comfortable in PS with each passing day. However, one thing I’ve certainly learned is that there is almost always another way to do what you’re trying to do and what might be ideal in one situation may not suit the next time.